centos6.5搭建phabricator全过程

公司项目管理和code review一直用jira和git来做,最近老大说有一个不错的开源的项目管理平台,让我搭一下,好用的话就转移过来了。搭建的过程遇到很多坑,光是虚拟机里重装系统就告了10次,最后一次终于成功,在此把过程记录下来,希望能帮助到和我一样遇坑卡主不能顺利搭建的朋友。

环境

Phabricator是一个LAMP应用套件,因此最基本的要求就是LAMP环境:

  • Linux
  • Apache(或nginx,或lighttpd):需要Apache 2.2.7以上版本。
  • MySQL:MySQL必需
  • PHP:需要PHP5.2以上版本

我使用的环境是:

  • centos6.5 64位(强烈不建议centos7,改了很多东西,和phabricator官方文档还有网上资源很多不一样地方,配起来很多坑)
  • Apache 2.2.15
  • mysql 5.6.29(强烈不建议mysql5.7,据网上资料说因为安全方面的加强,安装完后会在root目录下生产一个随机的密码,文件名为.mysql_secret,然而我重新装了两遍也没找到它 ( ˇˍˇ ))
  • php 5.3.3(用5.5或者5.6版本安装过程遇到有冲突,没有解决,我也不知道为什么是5.3.3,用phabricator官方安装脚本下载下来就是这个版本)

安装过程

具体过程不描述,以我参考的网络资源进行说明。网上的资源参考了特别多,只放我认为最有帮助的。

  • Apache比较简单,直接使用
    1
    # yum -y install httpd

可参考CentOS 6.5系统安装配置LAMP(Apache+PHP5+MySQL)服务器环境,防火墙和selinux建议根据此文章配置一下

1
2
3
4
5
6
7
8
9
10
11
12
13
14
15
<VirtualHost *>
# Change this to the domain which points to your host.
ServerName phabricator.example.com
# Change this to the path where you put 'phabricator' when you checked it
# out from GitHub when following the Installation Guide.
#
# Make sure you include "/webroot" at the end!
DocumentRoot /path/to/phabricator/webroot
RewriteEngine on
RewriteRule ^/rsrc/(.*) - [L,QSA]
RewriteRule ^/favicon.ico - [L,QSA]
RewriteRule ^(.*)$ /index.php?__path__=$1 [B,L,QSA]
</VirtualHost>

ServerName这个字段官方建议是填一个域名的,但是我并没有,直接填了虚拟机的ip地址,也是可以的,我添加的内容如下

1
2
3
4
5
6
7
8
9
10
11
12
13
14
15
16
17
18
19
<VirtualHost *>
# Change this to the domain which points to your host.
ServerName 192.168.175.130:80
# Change this to the path where you put 'phabricator' when you checked it
# out from GitHub when following the Installation Guide.
#
# Make sure you include "/webroot" at the end!
DocumentRoot /usr/server/phabricator/phabricator/webroot
RewriteEngine on
RewriteRule ^/rsrc/(.*) - [L,QSA]
RewriteRule ^/favicon.ico - [L,QSA]
RewriteRule ^(.*)$ /index.php?__path__=$1 [B,L,QSA]
</VirtualHost>
<Directory "/usr/server/phabricator/phabricator/webroot">
Order allow,deny
Allow from all
</Directory>

其中/usr/server/phabricator/phabricator/webroot是我的phabricator安装路径,大家使用时候换成自己的即可。

安装好phabricator之后,需要使用phabricator安装目录下bin文件夹下的命令来更新下

1
./storage upgrade

不过这个地方可能会有提示

1
2
3
4
5
6
7
8
9
10
11
12
13
14
15
16
17
[root@localhost bin]# ./storage upgrade
MySQL Credentials Not Configured
Unable to connect to MySQL using the configured credentials. You must
configure standard credentials before you can upgrade storage. Run these
commands to set up credentials:
phabricator/ $ ./bin/config set mysql.host __host__
phabricator/ $ ./bin/config set mysql.user __username__
phabricator/ $ ./bin/config set mysql.pass __password__
These standard credentials are separate from any administrative credentials
provided to this command with __--user__ or __--password__, and must be
configured correctly before you can proceed.
Raw MySQL Error: #1045: Access denied for user 'root'@'localhost' (using
password: NO)

这个时候根据提示的命令,配置下mysql的user和pass就行了。最后在浏览器中输入192.168.175.130就可以看到这个页面:
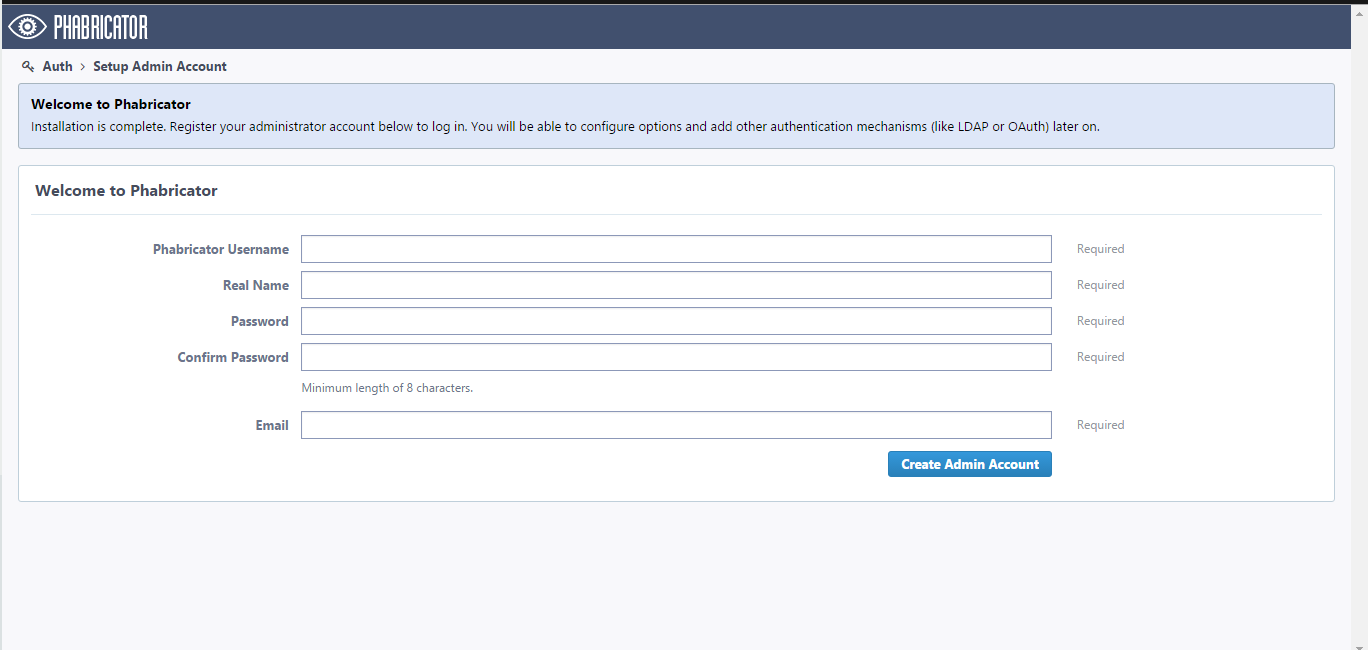
QQ截图20160313110316.png-40.8kB

大功告成!

遇到的坑

  • centos7
  • mysql5.7
  • php5.6

这几个是我没绕过去的坑,如果有成功的朋友,希望可以交流下。最后希望大家都能顺利搭建好phabricator~后续使用phabricator的体会看心情更新~

文章目录
  1. 1. 环境
  2. 2. 安装过程
  3. 3. 遇到的坑