最近在学习Python,想把自己的学习经历和自己认为的一些重点内容记录下来形成blog,于是在博客园上写了一篇。但是自己实在是不喜欢那个显示效果,看到很多人在自己用hexo搭建blog,作为一个折腾党,不自己折腾一下怎么可以,于是开工。一路波折,遇到了很多问题,记录下来,也放在自己blog的第一篇吧。
安装nodejs
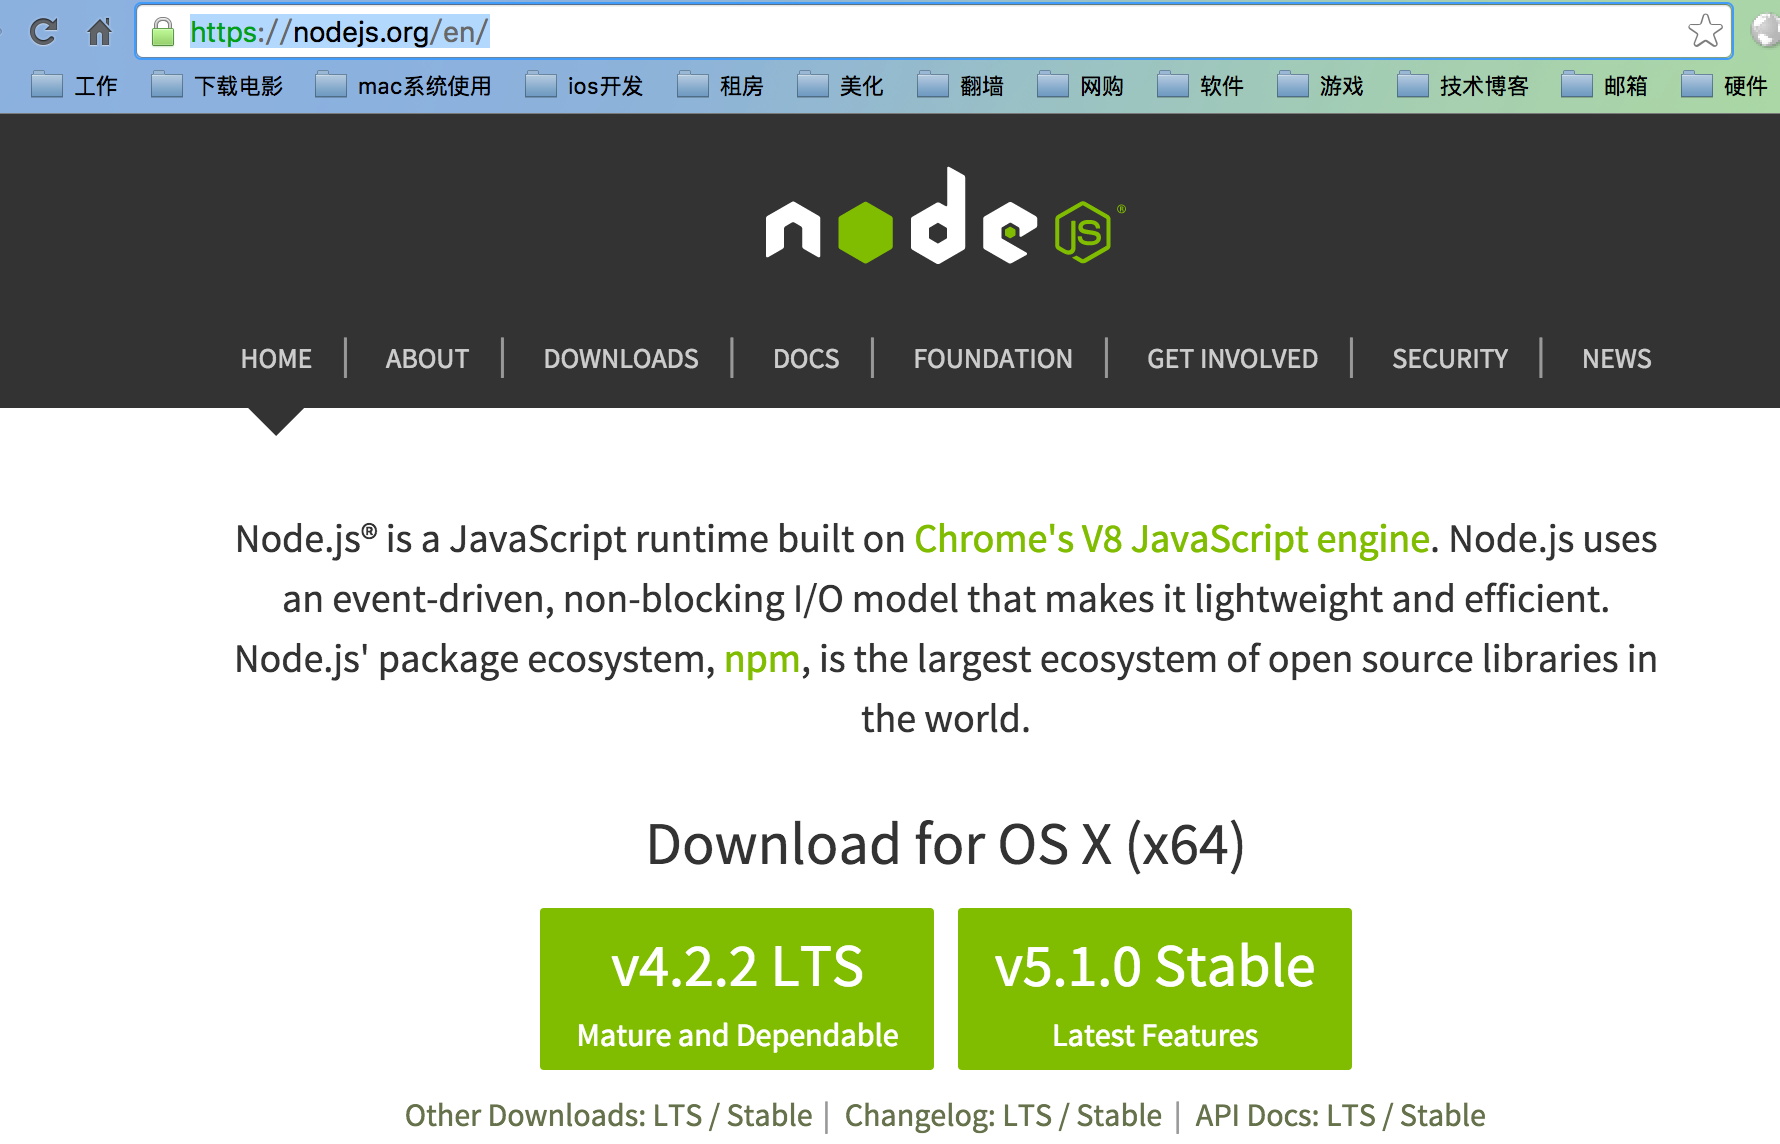
访问nodejs下载nodejs的安装包

我用的是5.1.0Stable版本。
下载好pkg文件后,一路下一步,装好nodejs。新版本已经同时安装npm,可以用以下命令检测是否安装成功。
node -v
npm -v
如果有版本号显示则表示安装成功,我的版本是
1 2 3 4
| RyandeMacBook-Pro:Blog Ryan$ node -v v5.1.0 RyandeMacBook-Pro:Blog Ryan$ npm -v 3.3.12
|
安装hexo
这一步很坑,我使用
npm install -g hexo
安装,会报错
1 2 3 4 5 6 7 8 9 10 11 12 13 14 15 16 17 18 19 20 21
| npm ERR! Darwin 15.0.0 npm ERR! argv "/usr/local/bin/node" "/usr/local/bin/npm" "install" "-g" "hexo" npm ERR! node v5.1.0 npm ERR! npm v3.3.12 npm ERR! path /usr/local/lib/node_modules npm ERR! code EACCES npm ERR! errno -13 npm ERR! syscall access npm ERR! Error: EACCES: permission denied, access '/usr/local/lib/node_modules' npm ERR! at Error (native) npm ERR! { [Error: EACCES: permission denied, access '/usr/local/lib/node_modules'] npm ERR! errno: -13, npm ERR! code: 'EACCES', npm ERR! syscall: 'access', npm ERR! path: '/usr/local/lib/node_modules' } npm ERR! npm ERR! Please try running this command again as root/Administrator. npm ERR! Please include the following file with any support request: npm ERR! /Users/Ryan/npm-debug.log
|
看上去是权限不够,于是乎,加上sudo
sudo npm install -g hexo
1 2 3 4 5 6 7 8 9 10 11
| RyandeMacBook-Pro:~ Ryan$ sudo npm install -g hexo Password: /usr/local/bin/hexo -> /usr/local/lib/node_modules/hexo/bin/hexo > fsevents@1.0.5 install /usr/local/lib/node_modules/hexo/node_modules/fsevents > node-pre-gyp install --fallback-to-build [fsevents] Success: "/usr/local/lib/node_modules/hexo/node_modules/fsevents/lib/binding/Release/node-v47-darwin-x64/fse.node" is installed via remote > dtrace-provider@0.6.0 install /usr/local/lib/node_modules/hexo/node_modules/dtrace-provider > node scripts/install.js
|
卡在了最后那一步node scripts/install.js,为毛一直卡着不动啊,于是问谷歌,得到的答案是hexo 3.x是需要使用命令
sudo npm install hexo-cli -g
终于安装成功
初始化hexo
新建一个文件夹,来存放hexo,我起名叫做『Blog』,你可以起一个任意你喜欢的名字。之后转到该文件夹下
1 2 3
| RyandeMacBook-Pro:Blog Ryan$ hexo init INFO Copying data to ~/Blog INFO You are almost done! Don't forget to run 'npm install' before you start blogging with Hexo!
|
既然它提醒要执行npm install,那么就执行一下,然后。。。有警告
1
| npm WARN prefer global marked@0.3.5 should be installed with -g
|
执行
npm install -g
shit!
1 2 3 4 5 6 7 8 9 10 11 12 13 14 15 16 17 18 19 20 21 22
| npm ERR! Darwin 15.0.0 npm ERR! argv "/usr/local/bin/node" "/usr/local/bin/npm" "install" "-g" npm ERR! node v5.1.0 npm ERR! npm v3.3.12 npm ERR! path /usr/local/lib/node_modules npm ERR! code EACCES npm ERR! errno -13 npm ERR! syscall access npm ERR! Error: EACCES: permission denied, access '/usr/local/lib/node_modules' npm ERR! at Error (native) npm ERR! { [Error: EACCES: permission denied, access '/usr/local/lib/node_modules'] npm ERR! errno: -13, npm ERR! code: 'EACCES', npm ERR! syscall: 'access', npm ERR! path: '/usr/local/lib/node_modules' } npm ERR! npm ERR! Please try running this command again as root/Administrator. npm ERR! Please include the following file with any support request: npm ERR! /Users/Ryan/Blog/npm-debug.log
|
所以又要执行
sudo npm install -g
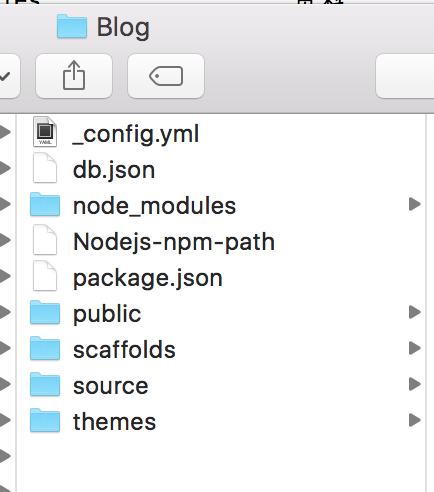
终于搞定。。。然后我们可以看到Blog文件夹下已经有hexo的文件了

查看一下hexo的版本
hexo -v
1 2 3 4 5 6 7 8 9 10 11 12
| RyandeMacBook-Pro:Blog Ryan$ hexo -v hexo: 3.1.1 os: Darwin 15.0.0 darwin x64 http_parser: 2.6.0 node: 5.1.0 v8: 4.6.85.31 uv: 1.7.5 zlib: 1.2.8 ares: 1.10.1-DEV icu: 56.1 modules: 47 openssl: 1.0.2d
|
这里介绍一下hexo的目录吧,参考的浪花一朵朵
_config.yml
全局配置文件,网站的很多信息都在这里配置,诸如网站名称,副标题,描述,作者,语言,主题,部署等等参数。我的config文件如下:
1 2 3 4 5 6 7 8 9 10 11 12 13 14 15 16 17 18 19 20 21 22 23 24 25 26 27 28 29 30 31 32 33 34 35 36 37 38 39 40 41 42 43 44 45 46 47 48 49 50 51 52 53 54 55 56 57 58 59 60 61 62 63 64 65 66 67 68 69 70 71 72 73 74
| title: 杉杉林 subtitle: 喜、怒、哀、乐 description: 杉杉林 author: Yanshan language: zh-CN email: yanshan_huhu@qq.com timezone: url: http://huyanshan.github.io root: / permalink: :year/:month/:day/:title/ permalink_defaults: source_dir: source public_dir: public tag_dir: tags archive_dir: archives category_dir: categories code_dir: downloads/code i18n_dir: :lang skip_render: new_post_name: :title.md default_layout: post titlecase: false external_link: true filename_case: 0 render_drafts: false post_asset_folder: false relative_link: false future: true highlight: enable: true line_number: true auto_detect: true tab_replace: default_category: uncategorized category_map: tag_map: date_format: YYYY-MM-DD time_format: HH:mm:ss per_page: 10 pagination_dir: page theme: landscape deploy: type: git repo: git@github.com:huyanshan/huyanshan.github.io.git branch: master
|
package.json
hexo框架的参数,如果不小心把它删掉了,没关系,新建一个文件,讲内容写入文件,保存就OK了。里面的参数基本上是固定的,我的文件夹下该文件内容如下:
1 2 3 4 5 6 7 8 9 10 11 12 13 14 15 16 17 18 19 20
| { "name": "hexo-site", "version": "0.0.0", "private": true, "hexo": { "version": "3.1.1" }, "dependencies": { "hexo": "^3.1.0", "hexo-deployer-git": "0.0.4", "hexo-generator-archive": "^0.1.2", "hexo-generator-category": "^0.1.2", "hexo-generator-index": "^0.1.2", "hexo-generator-tag": "^0.1.1", "hexo-renderer-ejs": "^0.1.0", "hexo-renderer-marked": "^0.2.4", "hexo-renderer-stylus": "^0.3.0", "hexo-server": "^0.1.2" } }
|
scaffolds
scaffolds是“脚手架、骨架”的意思,当你新建一篇文章(hexo new ‘title’)的时候,hexo是根据这个目录下的文件进行构建的。基本不用关心。
scripts
脚本目录,此目录下的JavaScript文件会被自动执行。
source
这个目录很重要,新建的文章都是在保存在这个目录下的,有两个子目录:_drafts,_posts。需要新建的博文都放在_posts目录下。
_posts目录下是一个个markdown文件。你应该可以看到一个hello-world.md的文件,文章就在这个文件中编辑。
_posts目录下的md文件,会被编译成html文件,放到public(此文件现在应该没有,因为你还没有编译过)文件夹下。
themes
网站主题目录,hexo有非常好的主题拓展,支持的主题也很丰富。该目录下,每一个子目录就是一个主题,当然可以去网上下载别人做好的主题去扩展。主题目录下我们可以进行很多自定义的操作,诸如,给网站添加微博秀、添加评论组件、添加分享组件、添加统计等等,让自己的博客网站更丰富、有趣、实用。
先介绍到这,然后启用hexo服务看一下吧
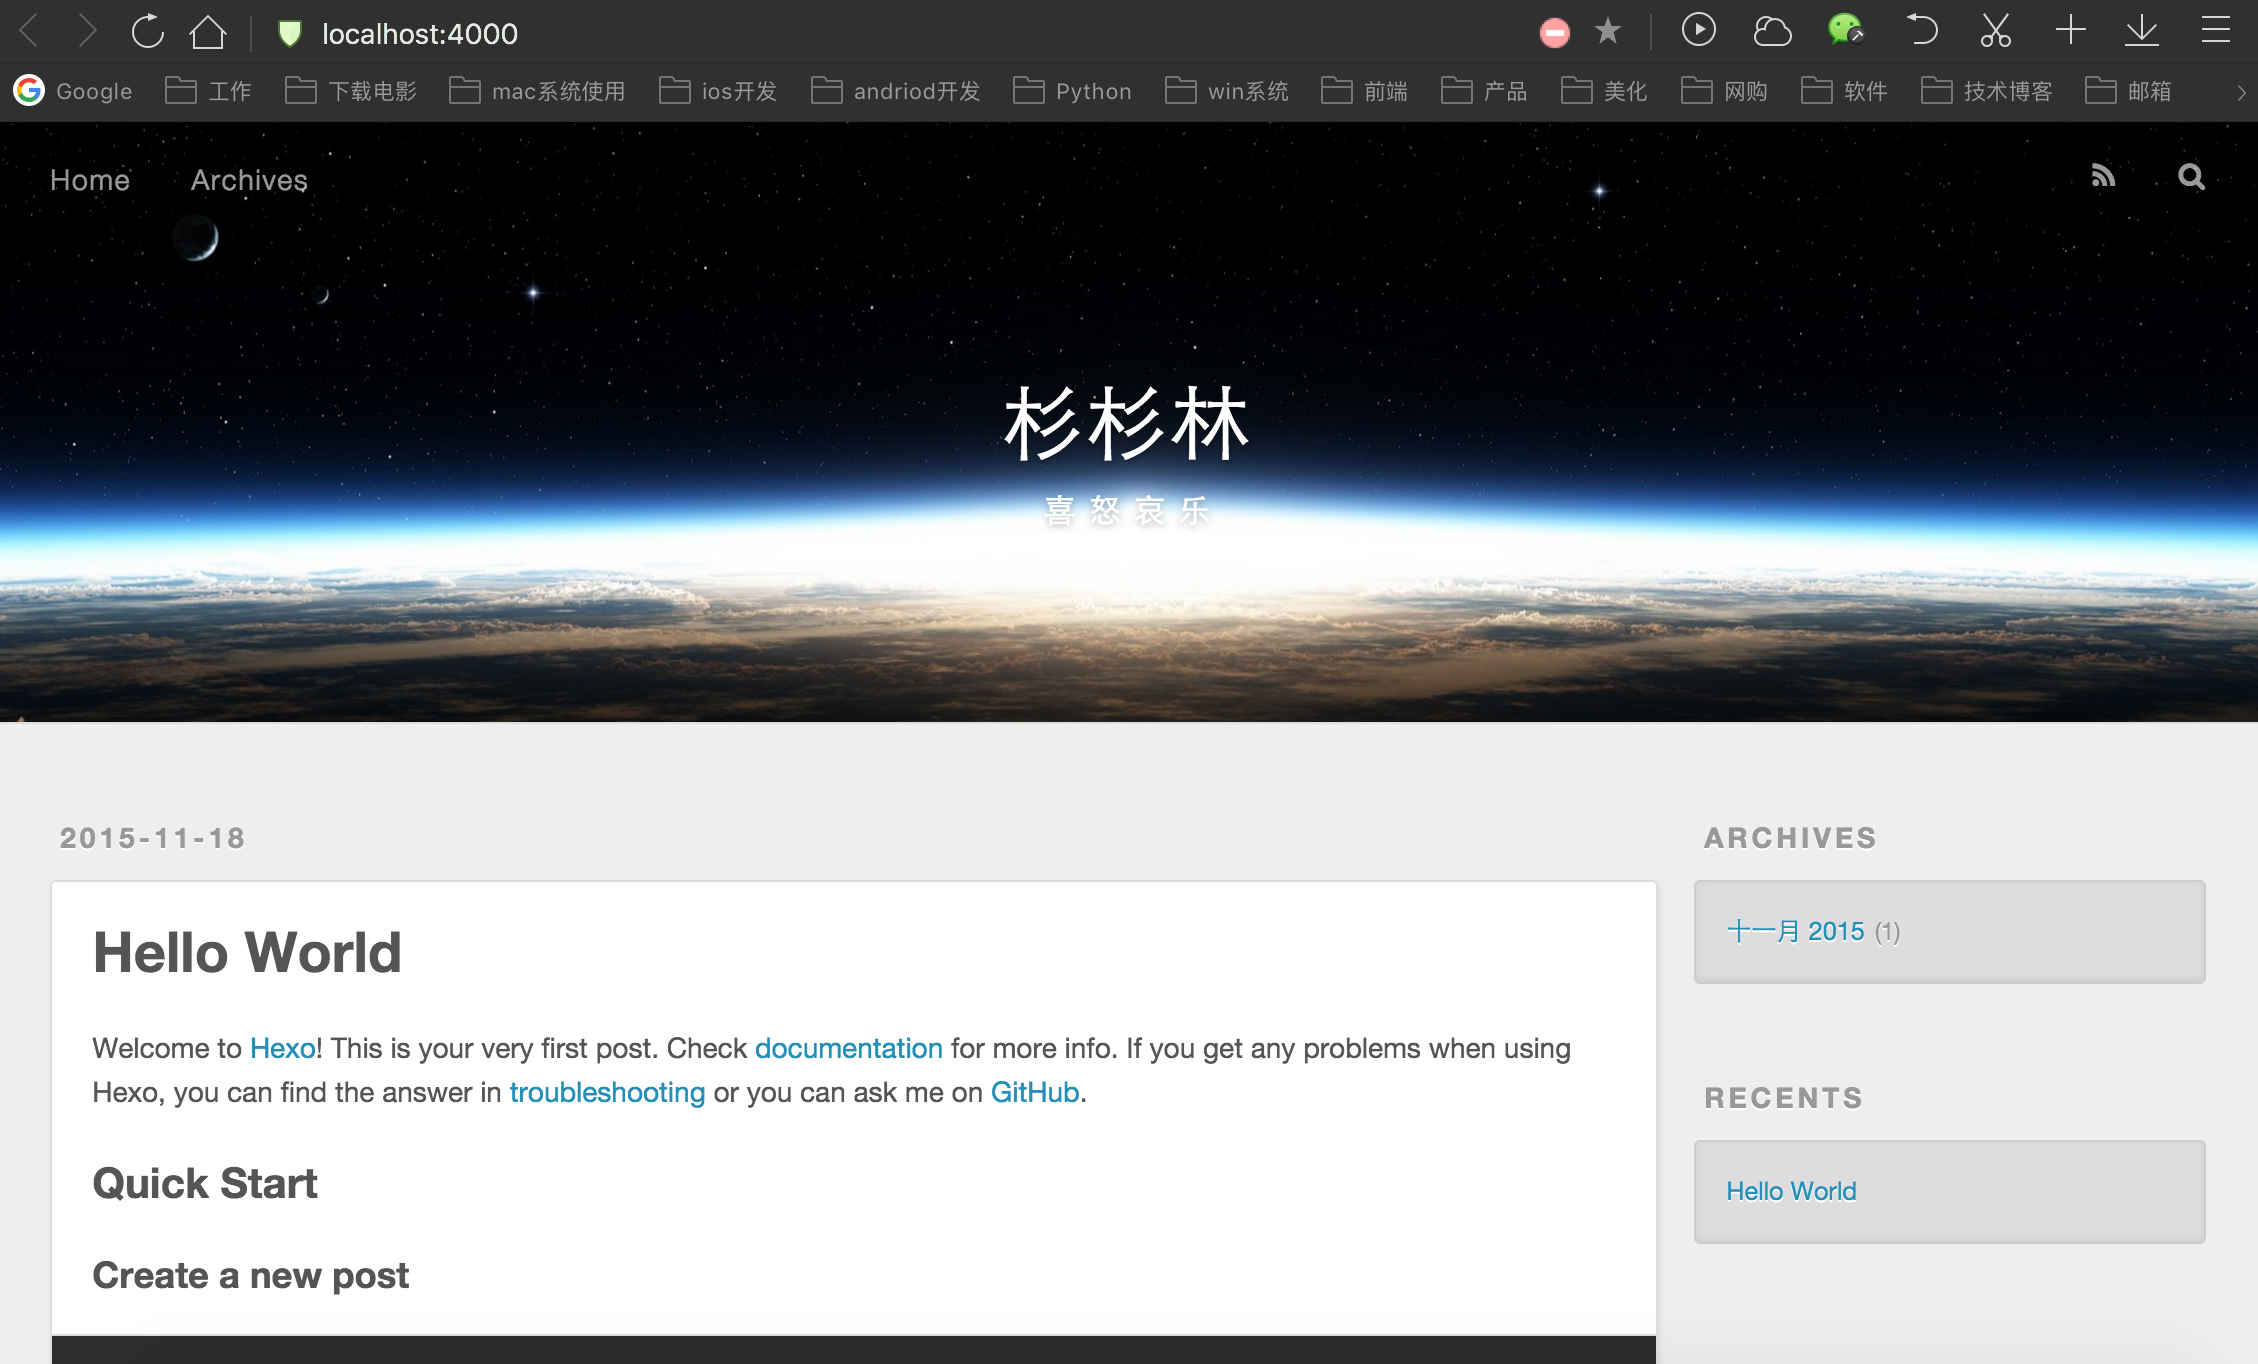
浏览器访问localhost:4000,就可以看到网站了。

部署到github
这一步最折腾人了。。。。教训告诉我们,一定要先去看官方文档。
###新建仓库
首先,要有一个github帐号,建一个名字为『huyanshan.github.io』的repo。
###配置SSH KEY
在这一步,费了很长时间(╬ ̄皿 ̄)凸。
先检查下原有的ssh key:
1 2 3
| RyandeMacBook-Pro:~ Ryan$ cd ~/.ssh RyandeMacBook-Pro:.ssh Ryan$ ls id_rsa id_rsa.pub key_backup known_hosts
|
原本我是有一对key的,但是不知道为什么添加到github上一直不通,只好备份了一下重新生成。
####生成SSH KEY
1 2 3 4 5 6 7 8 9 10 11 12 13 14 15 16 17 18 19 20 21 22 23
| RyandeMacBook-Pro:.ssh Ryan$ ssh-keygen -t rsa -C "github帐号邮箱" Generating public/private rsa key pair. Enter file in which to save the key (/Users/Ryan/.ssh/id_rsa): /Users/Ryan/.ssh/id_rsa already exists. Overwrite (y/n)? y Enter passphrase (empty for no passphrase): Enter same passphrase again: Your identification has been saved in /Users/Ryan/.ssh/id_rsa. Your public key has been saved in /Users/Ryan/.ssh/id_rsa.pub. The key fingerprint is: SHA256:********************************* yanshan_huhu@qq.com The key's randomart image is: +---[RSA 2048]----+ | o | | ..=| | . . . =| | oo. . E| | Soo o+| | . ..+..*.*| | o B.oB**+| | =oOoo+= | | +O+++o | +----[SHA256]-----+
|
别急,这里再做一步,把key添到ssh-agent里github帮助-ssh密钥,不然后面部署的时候会报key错误。
1 2 3 4
| RyandeMacBook-Pro:.ssh Ryan$ ssh-add id_rsa Enter passphrase for id_rsa: Bad passphrase, try again for id_rsa: Identity added: id_rsa (id_rsa)
|
然后再去github的Account Setting里把id_rsa.pub添加进去,之后测试一下能不能通
RyandeMacBook-Pro:.ssh Ryan$ ssh -T git@github.com
Hi huyanshan! You've successfully authenticated, but GitHub does not provide shell access.
表示key验证成功。
##部署hexo到github
hexo3.x需要先安装hexo-deployer-git
$npm install hexo-deployer-git --save
1 2 3 4 5 6 7 8 9 10 11 12 13 14 15 16 17 18 19 20 21 22 23 24 25 26 27 28 29 30 31 32 33 34 35 36 37 38 39 40 41
| RyandeMacBook-Pro:Blog Ryan$ sudo hexo d -g Password: INFO Files loaded in 410 ms INFO Generated: js/script.js INFO Generated: fancybox/jquery.fancybox.pack.js INFO Generated: fancybox/jquery.fancybox.js INFO Generated: fancybox/jquery.fancybox.css INFO Generated: fancybox/helpers/jquery.fancybox-thumbs.js INFO Generated: fancybox/helpers/jquery.fancybox-thumbs.css INFO Generated: fancybox/helpers/jquery.fancybox-media.js INFO Generated: fancybox/helpers/jquery.fancybox-buttons.js INFO Generated: fancybox/helpers/jquery.fancybox-buttons.css INFO Generated: fancybox/helpers/fancybox_buttons.png INFO Generated: fancybox/fancybox_sprite@2x.png INFO Generated: fancybox/fancybox_sprite.png INFO Generated: fancybox/fancybox_overlay.png INFO Generated: fancybox/fancybox_loading@2x.gif INFO Generated: fancybox/fancybox_loading.gif INFO Generated: fancybox/blank.gif INFO Generated: css/style.css INFO Generated: css/images/banner.jpg INFO Generated: css/fonts/fontawesome-webfont.woff INFO Generated: css/fonts/fontawesome-webfont.ttf INFO Generated: css/fonts/fontawesome-webfont.svg INFO Generated: css/fonts/fontawesome-webfont.eot INFO Generated: css/fonts/FontAwesome.otf INFO Generated: 2015/11/18/hello-world/index.html INFO Generated: archives/index.html INFO Generated: archives/2015/index.html INFO Generated: archives/2015/11/index.html INFO Generated: index.html INFO 28 files generated in 934 ms INFO Deploying: git INFO Clearing .deploy folder... INFO Copying files from public folder... [master 0461143] Site updated: 2015-11-18 15:45:37 5 files changed, 77 insertions(+), 57 deletions(-) To git@github.com:huyanshan/huyanshan.github.io.git 83bcee0..0461143 master -> master Branch master set up to track remote branch master from git@github.com:huyanshan/huyanshan.github.io.git. INFO Deploy done: git
|
PS:又发现了一篇介绍hexo3.0的文章,很不错。Hexo 3.0 静态博客使用指南
还有一篇如何搭建一个独立博客——简明Github Pages与Hexo教程


